6 Simple wildlife photography tips to secure that outstanding shot
Wildlife photography doesn’t have to be complicated. Follow these 6 Simple wildlife photography tips to secure that outstanding shot. Also, be sure to read the follow-up tips to make sure that your photos are secured for a lifetime.
The first part of the post is about taking the shots, the second part is about keeping the shots! Both parts are very important parts of the wildlife photography process.
This article contains affiliate links, as an associate I earn from qualifying purchases. This will not cost you anything extra.
6 Simple wildlife photography tips to secure that outstanding shot
1. Get down low
This is my number one tip that will immediately make a big difference to the look of your photos. When we are on safari we tend to be looking down on the animal from the car. Especially if you are in one of those land cruisers where the roof pops open.
You know the score you are standing on the seat, head out of the rood, the wind in your hair. You are scanning for animals and you find something and immediately you excitedly start taking photos.
This is where I want you to pause, take a second to get down and sit on the seat or even crouch on the floor of the car. Now place your lens out through the window. Getting lower to the ground gives you a better chance of getting on eye level with the animal or below. This gives you a more realistic perspective and makes the viewer feel more connected to the animal.
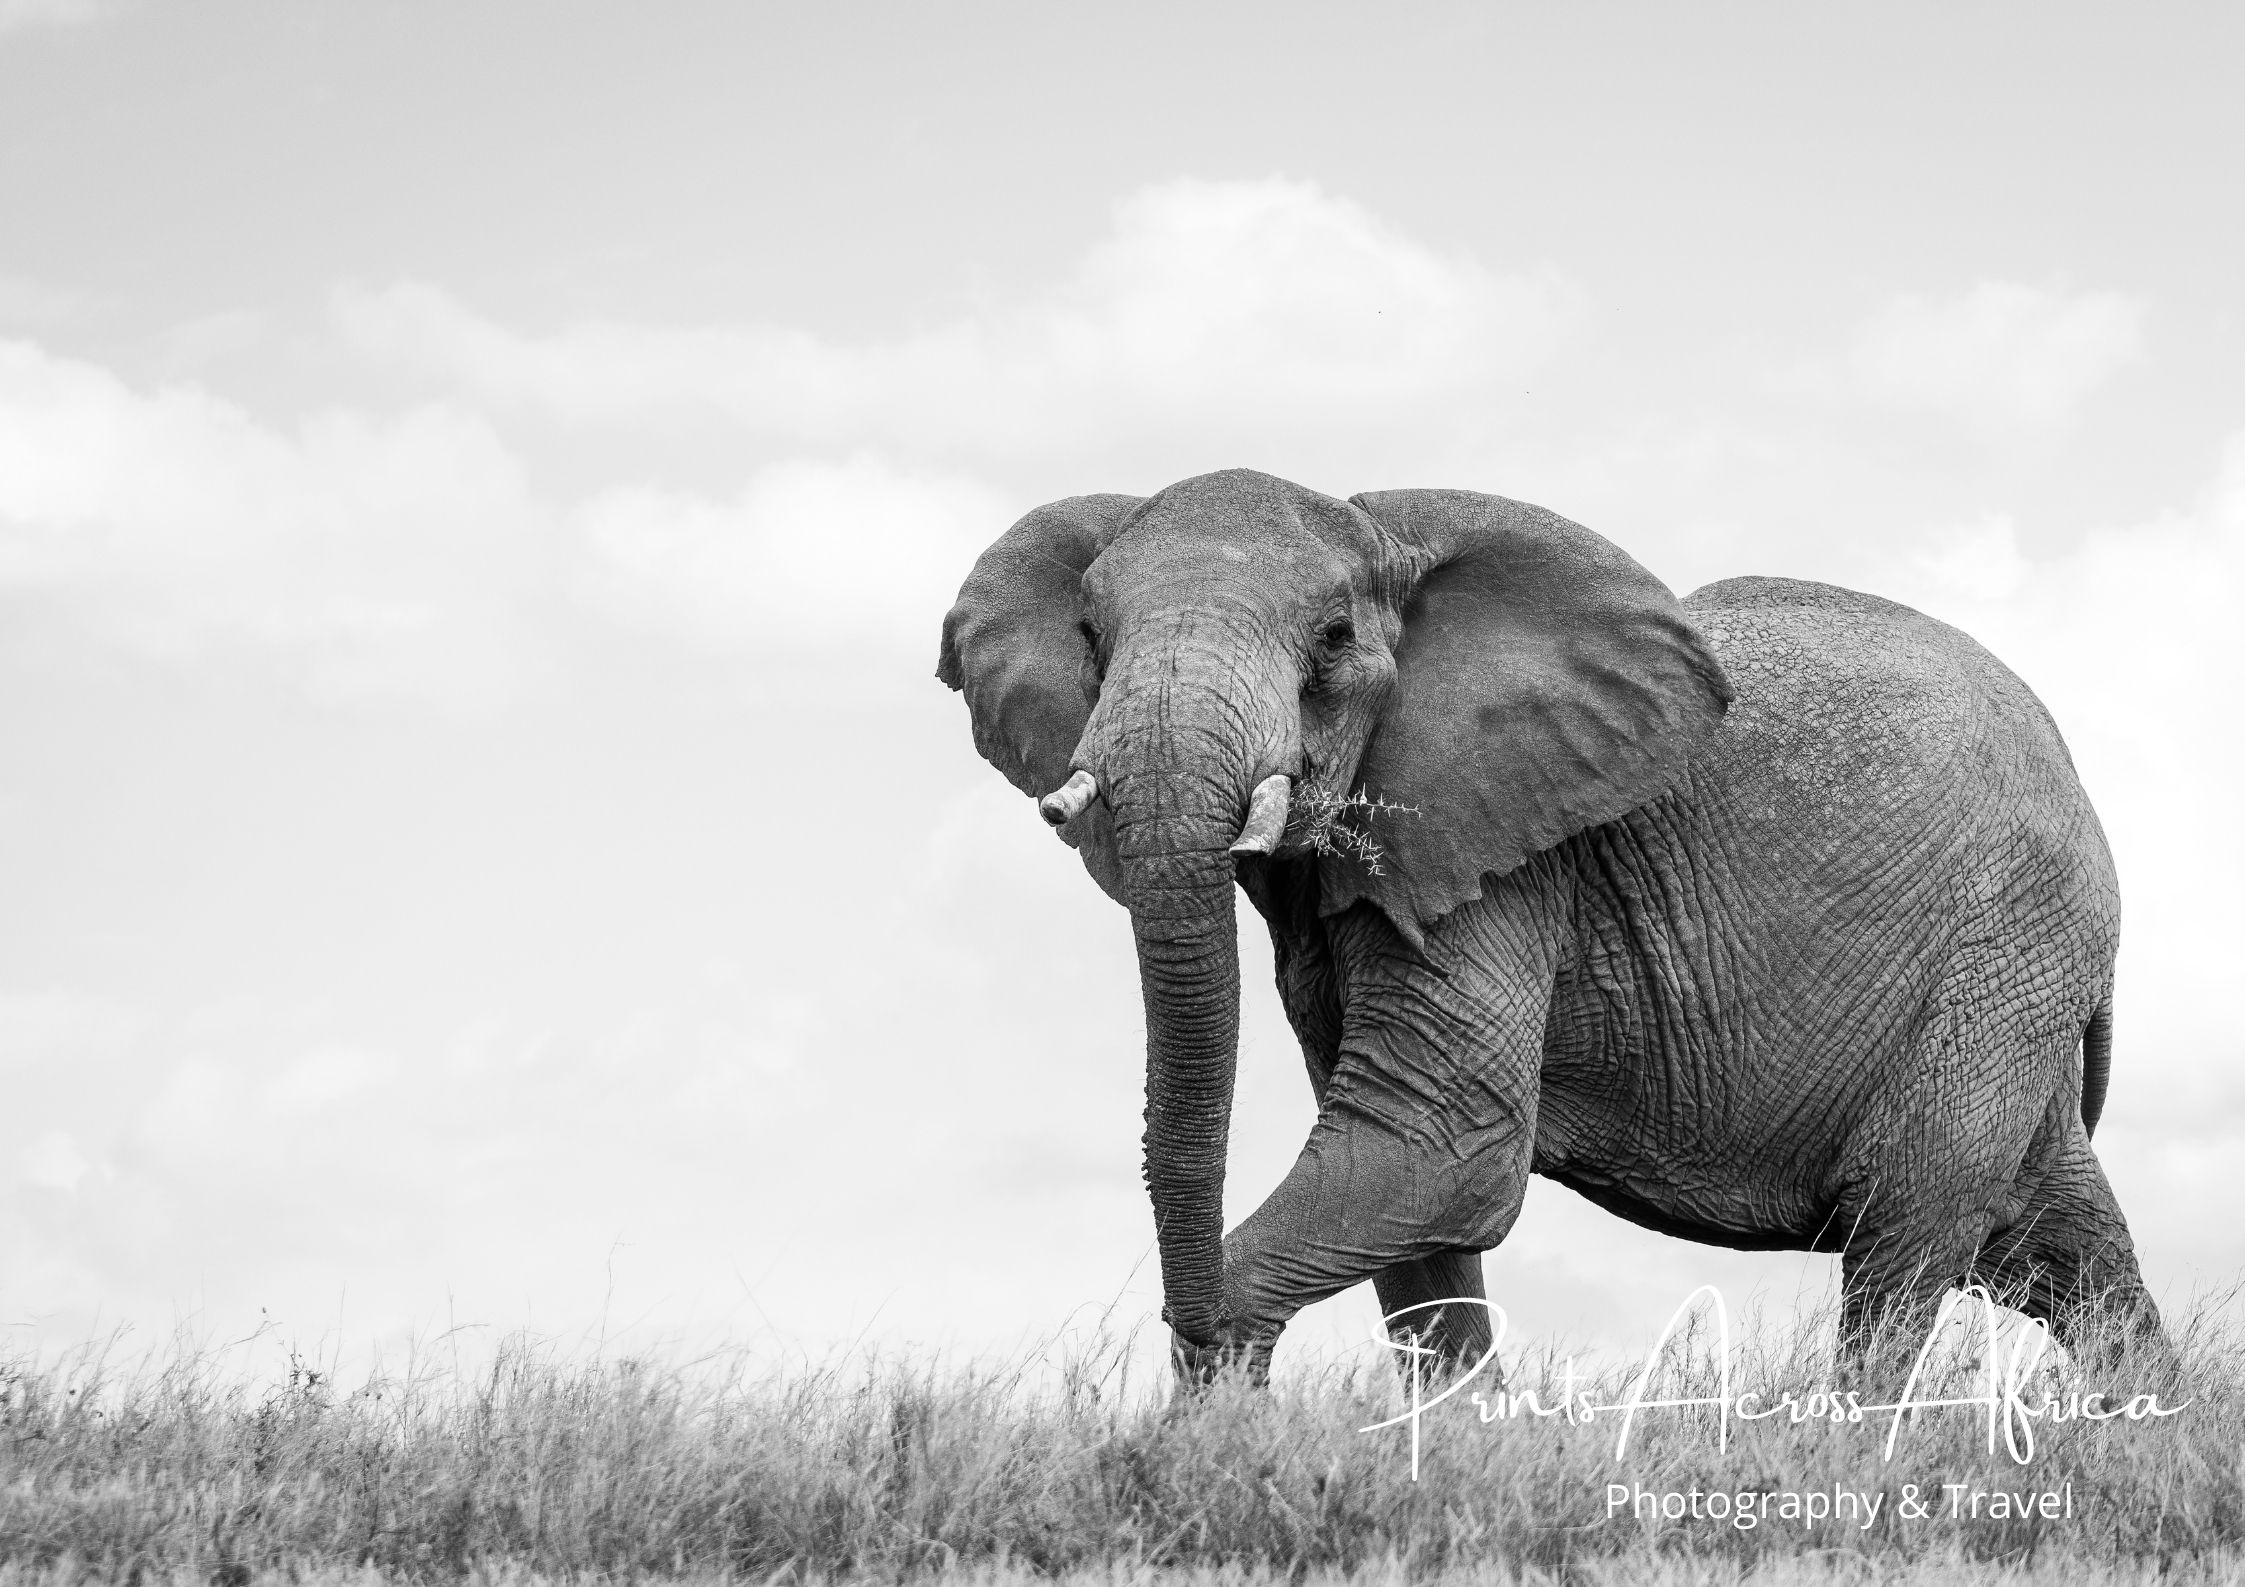
With larger animals, like elephants, shooting from below them really gives them stature and allows the viewer to get a feeling of how big they really are. I took this photo while lying on the ground as the elephant walked past.
If you are in an open land cruiser then even better, you might be able to lie down on the car floor on your stomach. If this is not possible then another way is to place your camera outside of the car and, if you can, tilt your camera screen upwards towards you so you can see what you are shooting.
2. Shoot in Appateur priority mode (A)
In aperture priority mode you set the aperture and your camera sets the corresponding shutter speed and ISO (if your ISO is on auto).
This means you are deciding the depth of field (how much of the photo is in focus) and your camera sets the shutter speed accordingly so your exposure is balanced. The lower the f-number e.g. f2.8 the smaller the depth of field. This means less of the shot will be in focus. A lower f-number gives that shot where the animal is in focus and you get a beautifully blurred background.
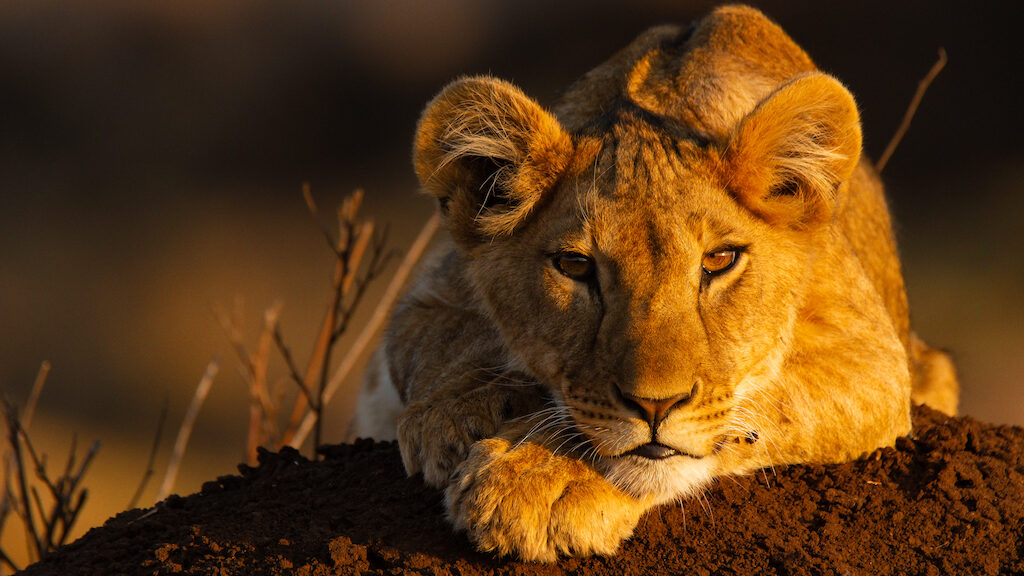
If you are taking a landscape shot you will want the whole scene in focus so you will need to raise the f-number to about 8-11.
As stated the camera will then set the shutter speed to balance the exposure for you and you don’t have to worry about that.
3. Use a bean bag to steady your camera
A lot of wildlife photography takes place in a car where you don’t have the luxury of being able to use a tripod. To add to the issue, you are likely using a long lens. With a long lens, it is important to keep it still to avoid blur. A good substitute for a tripod is a bean bag. Place the bean bag over the car window and rest your lens on the bean bag. This enables you to keep the lens steady while you take your shot.
If you don’t have a bean bag or don’t want to carry one then fill up a sock with rice (uncooked obviously).
4. Shoot at the correct time
There are two reasons why safari equates to early mornings. One is the animals are more active in the morning as it is cooler in temperature. Two, the lighting is perfect for capturing these moments.
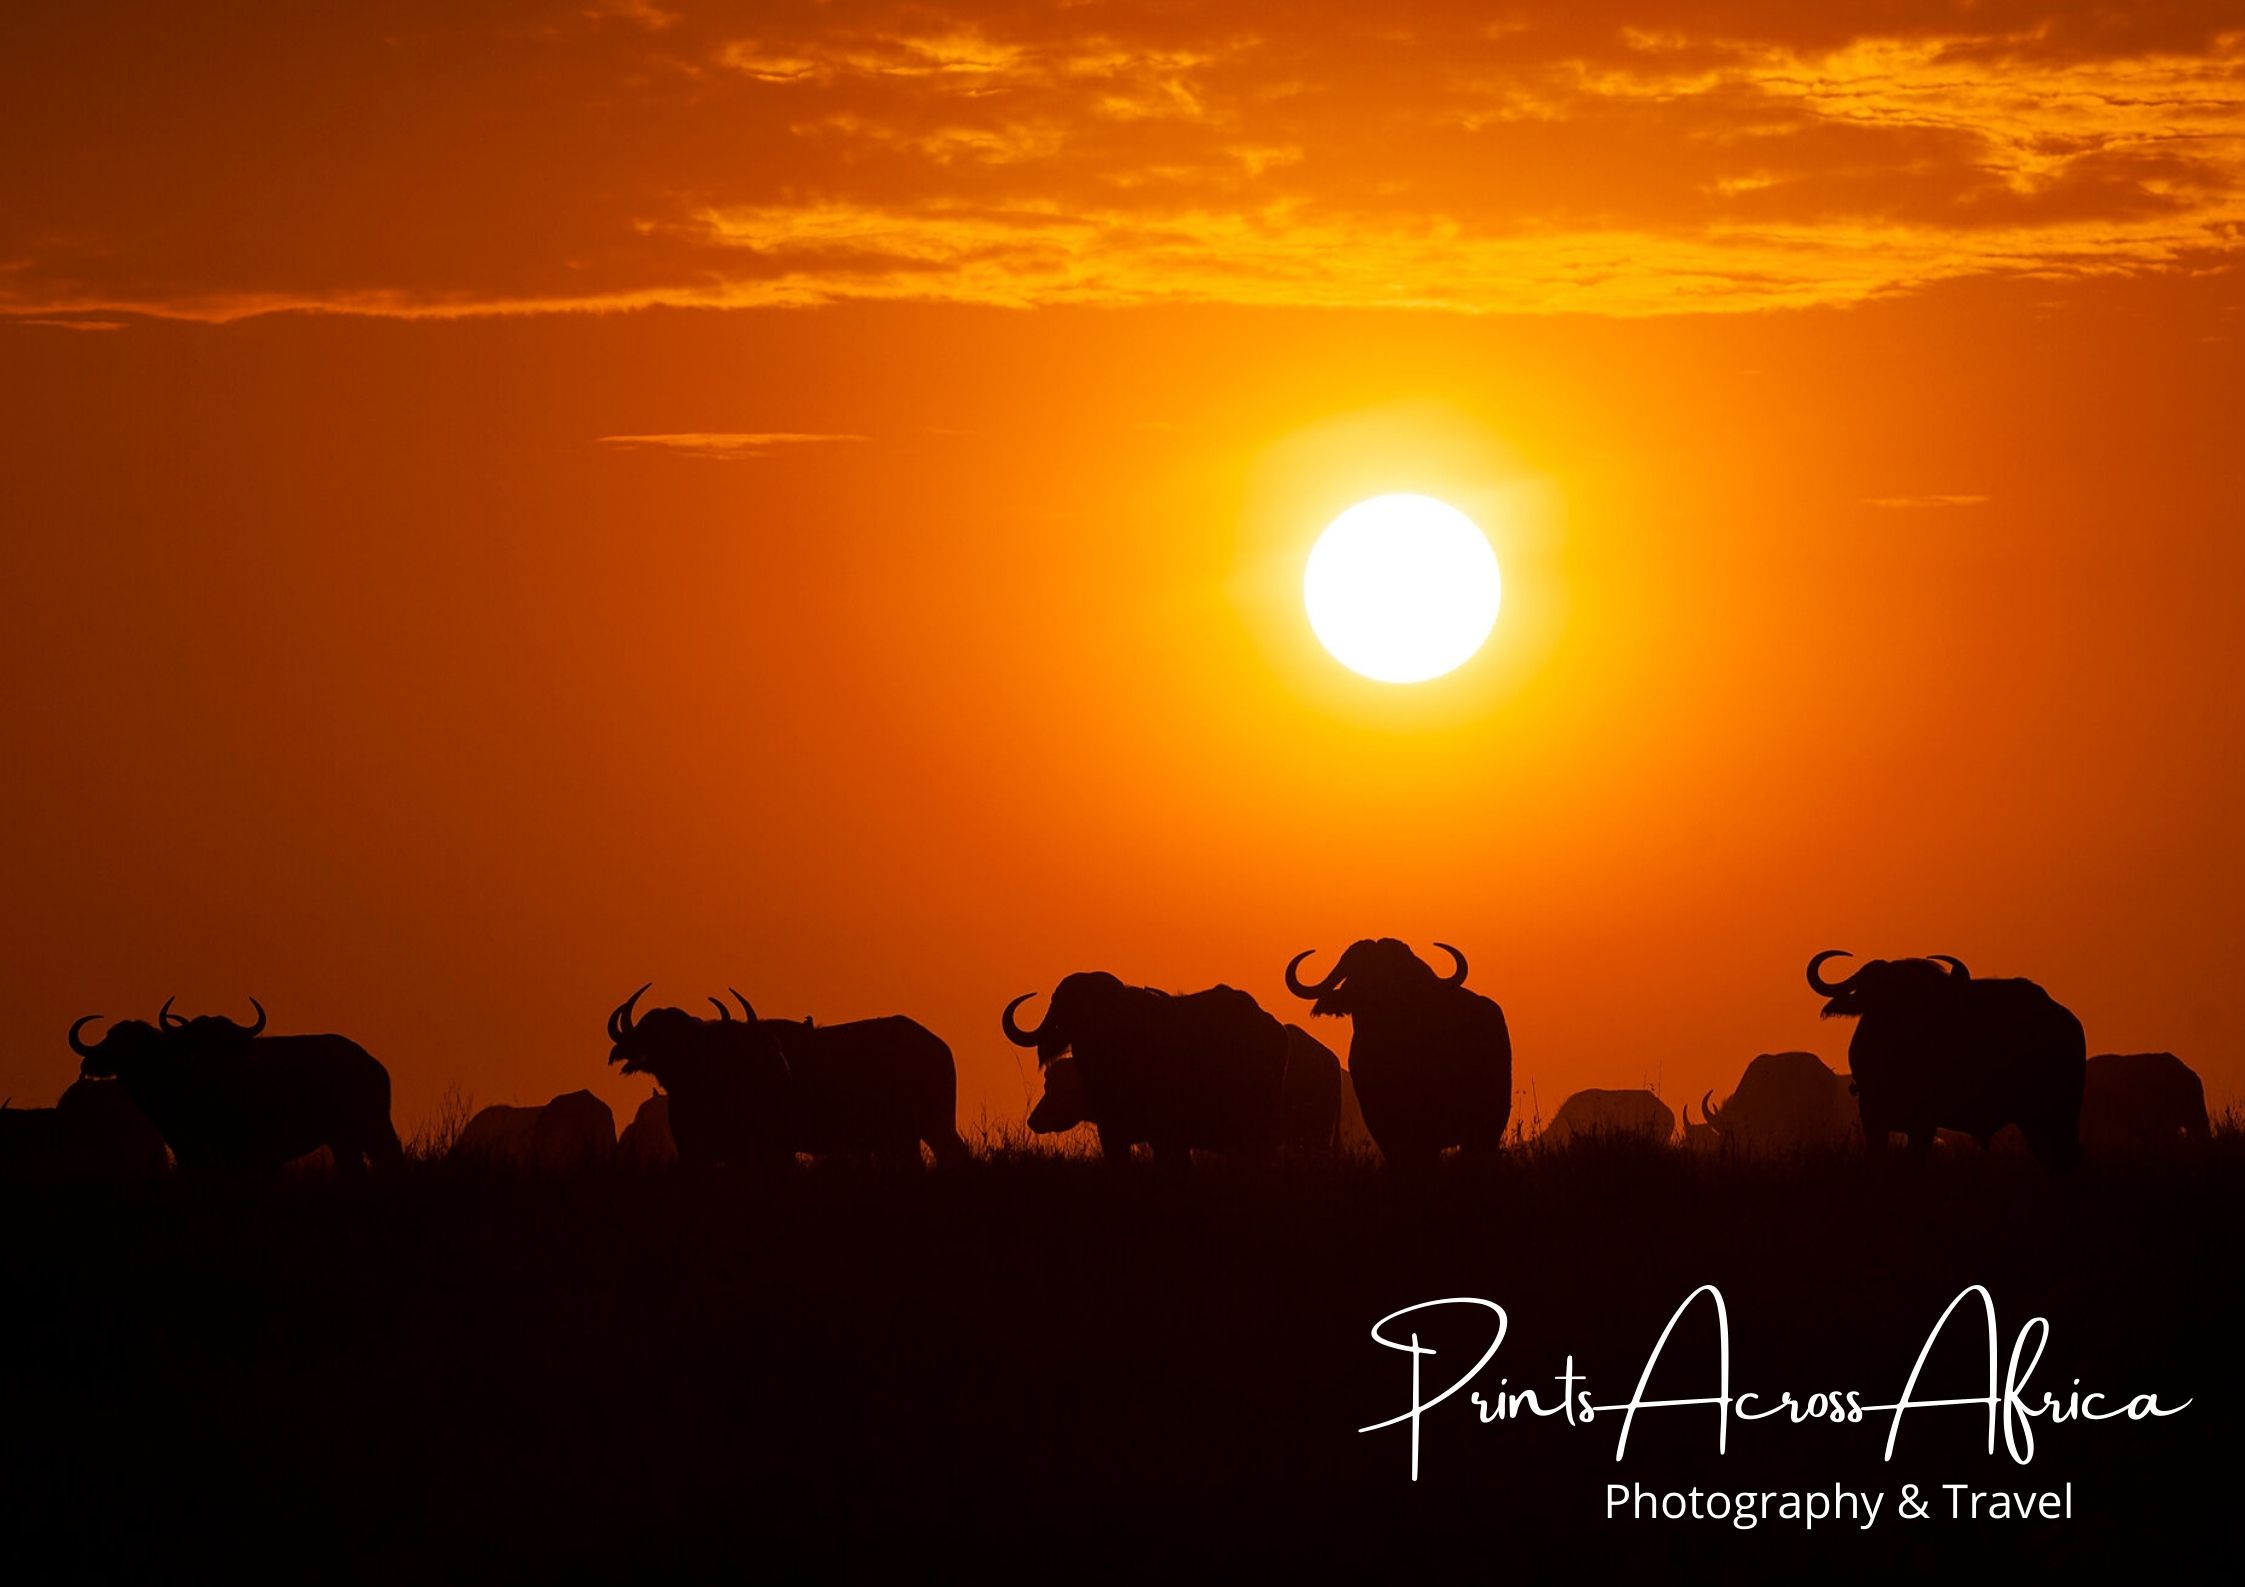
The same goes for golden hour, just an hour or so before the sun goes down. Make sure you are out and about during these times to try and capture the animals at the best time. Keep an eye on your ISO, you might need to raise it a little to compensate for the lower light conditions.
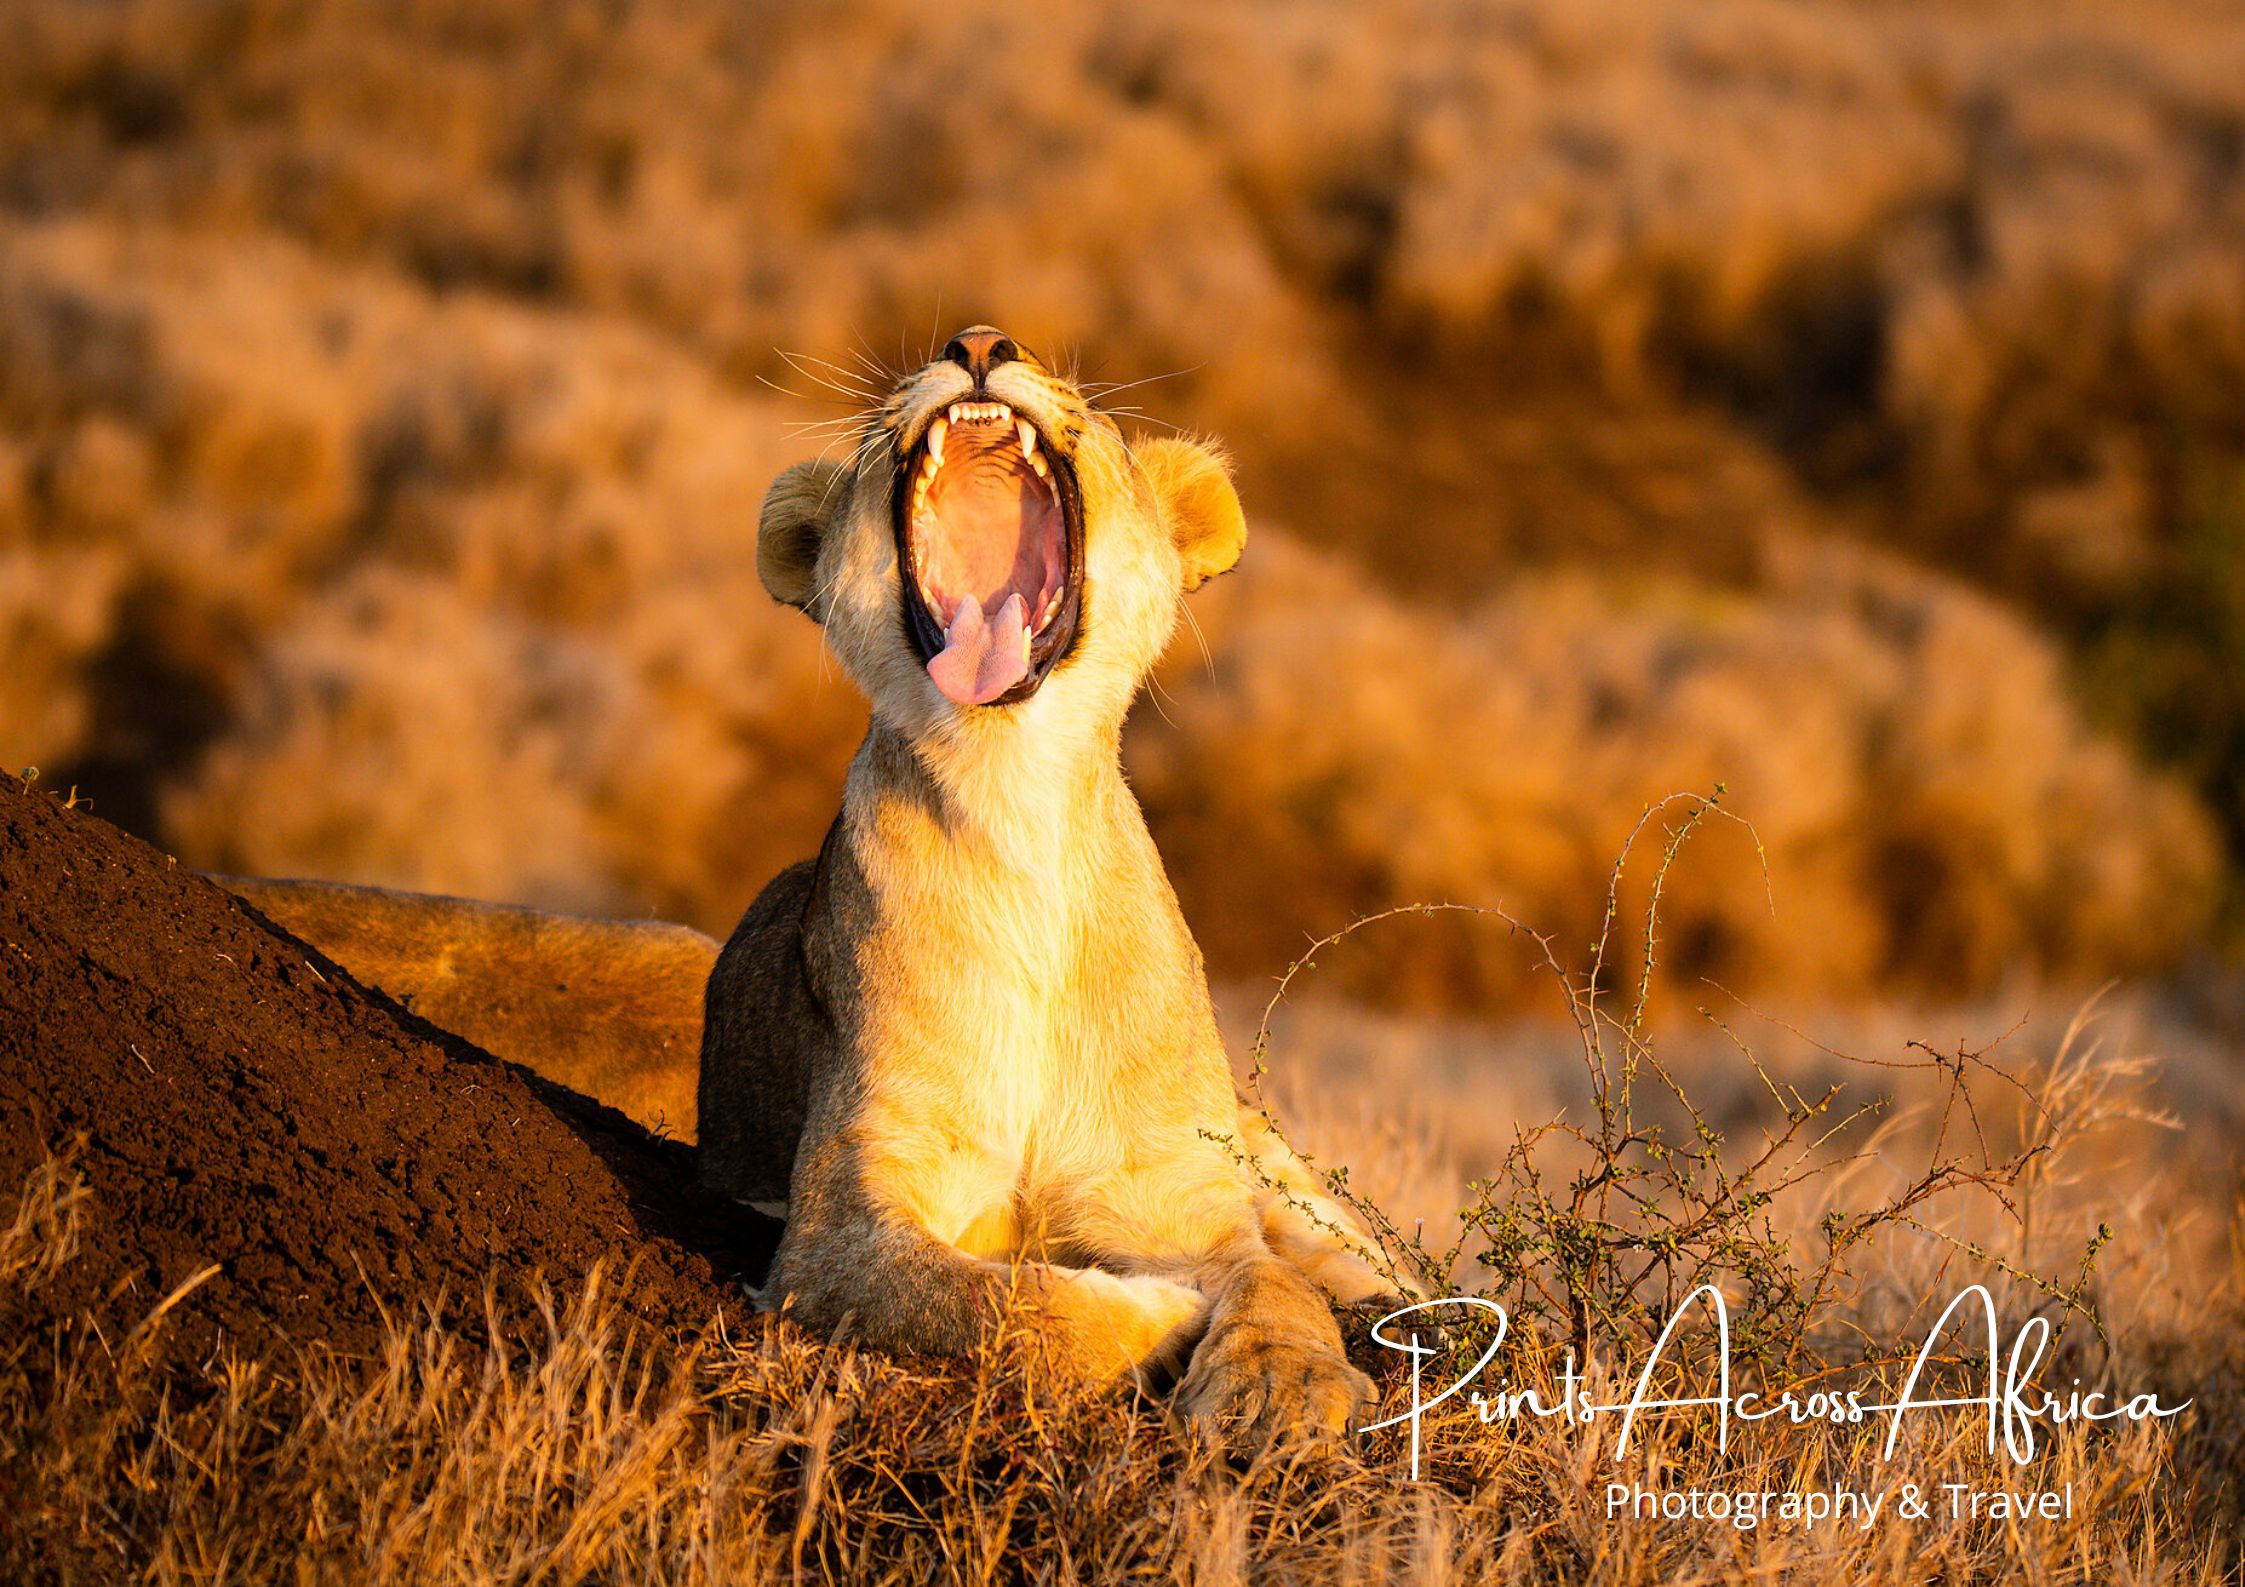
5. Don’t always zoom in
It is tempting when you have a long lens to use it to its fullest. The temptation is to always zoom as far as possible and get as close to the animal as possible. This is not always the best option. The beauty of a safari is seeing the animals in their natural habitat, out in the wild. Try to get a variety of shots including ones where you can see the whole animals in their surroundings.
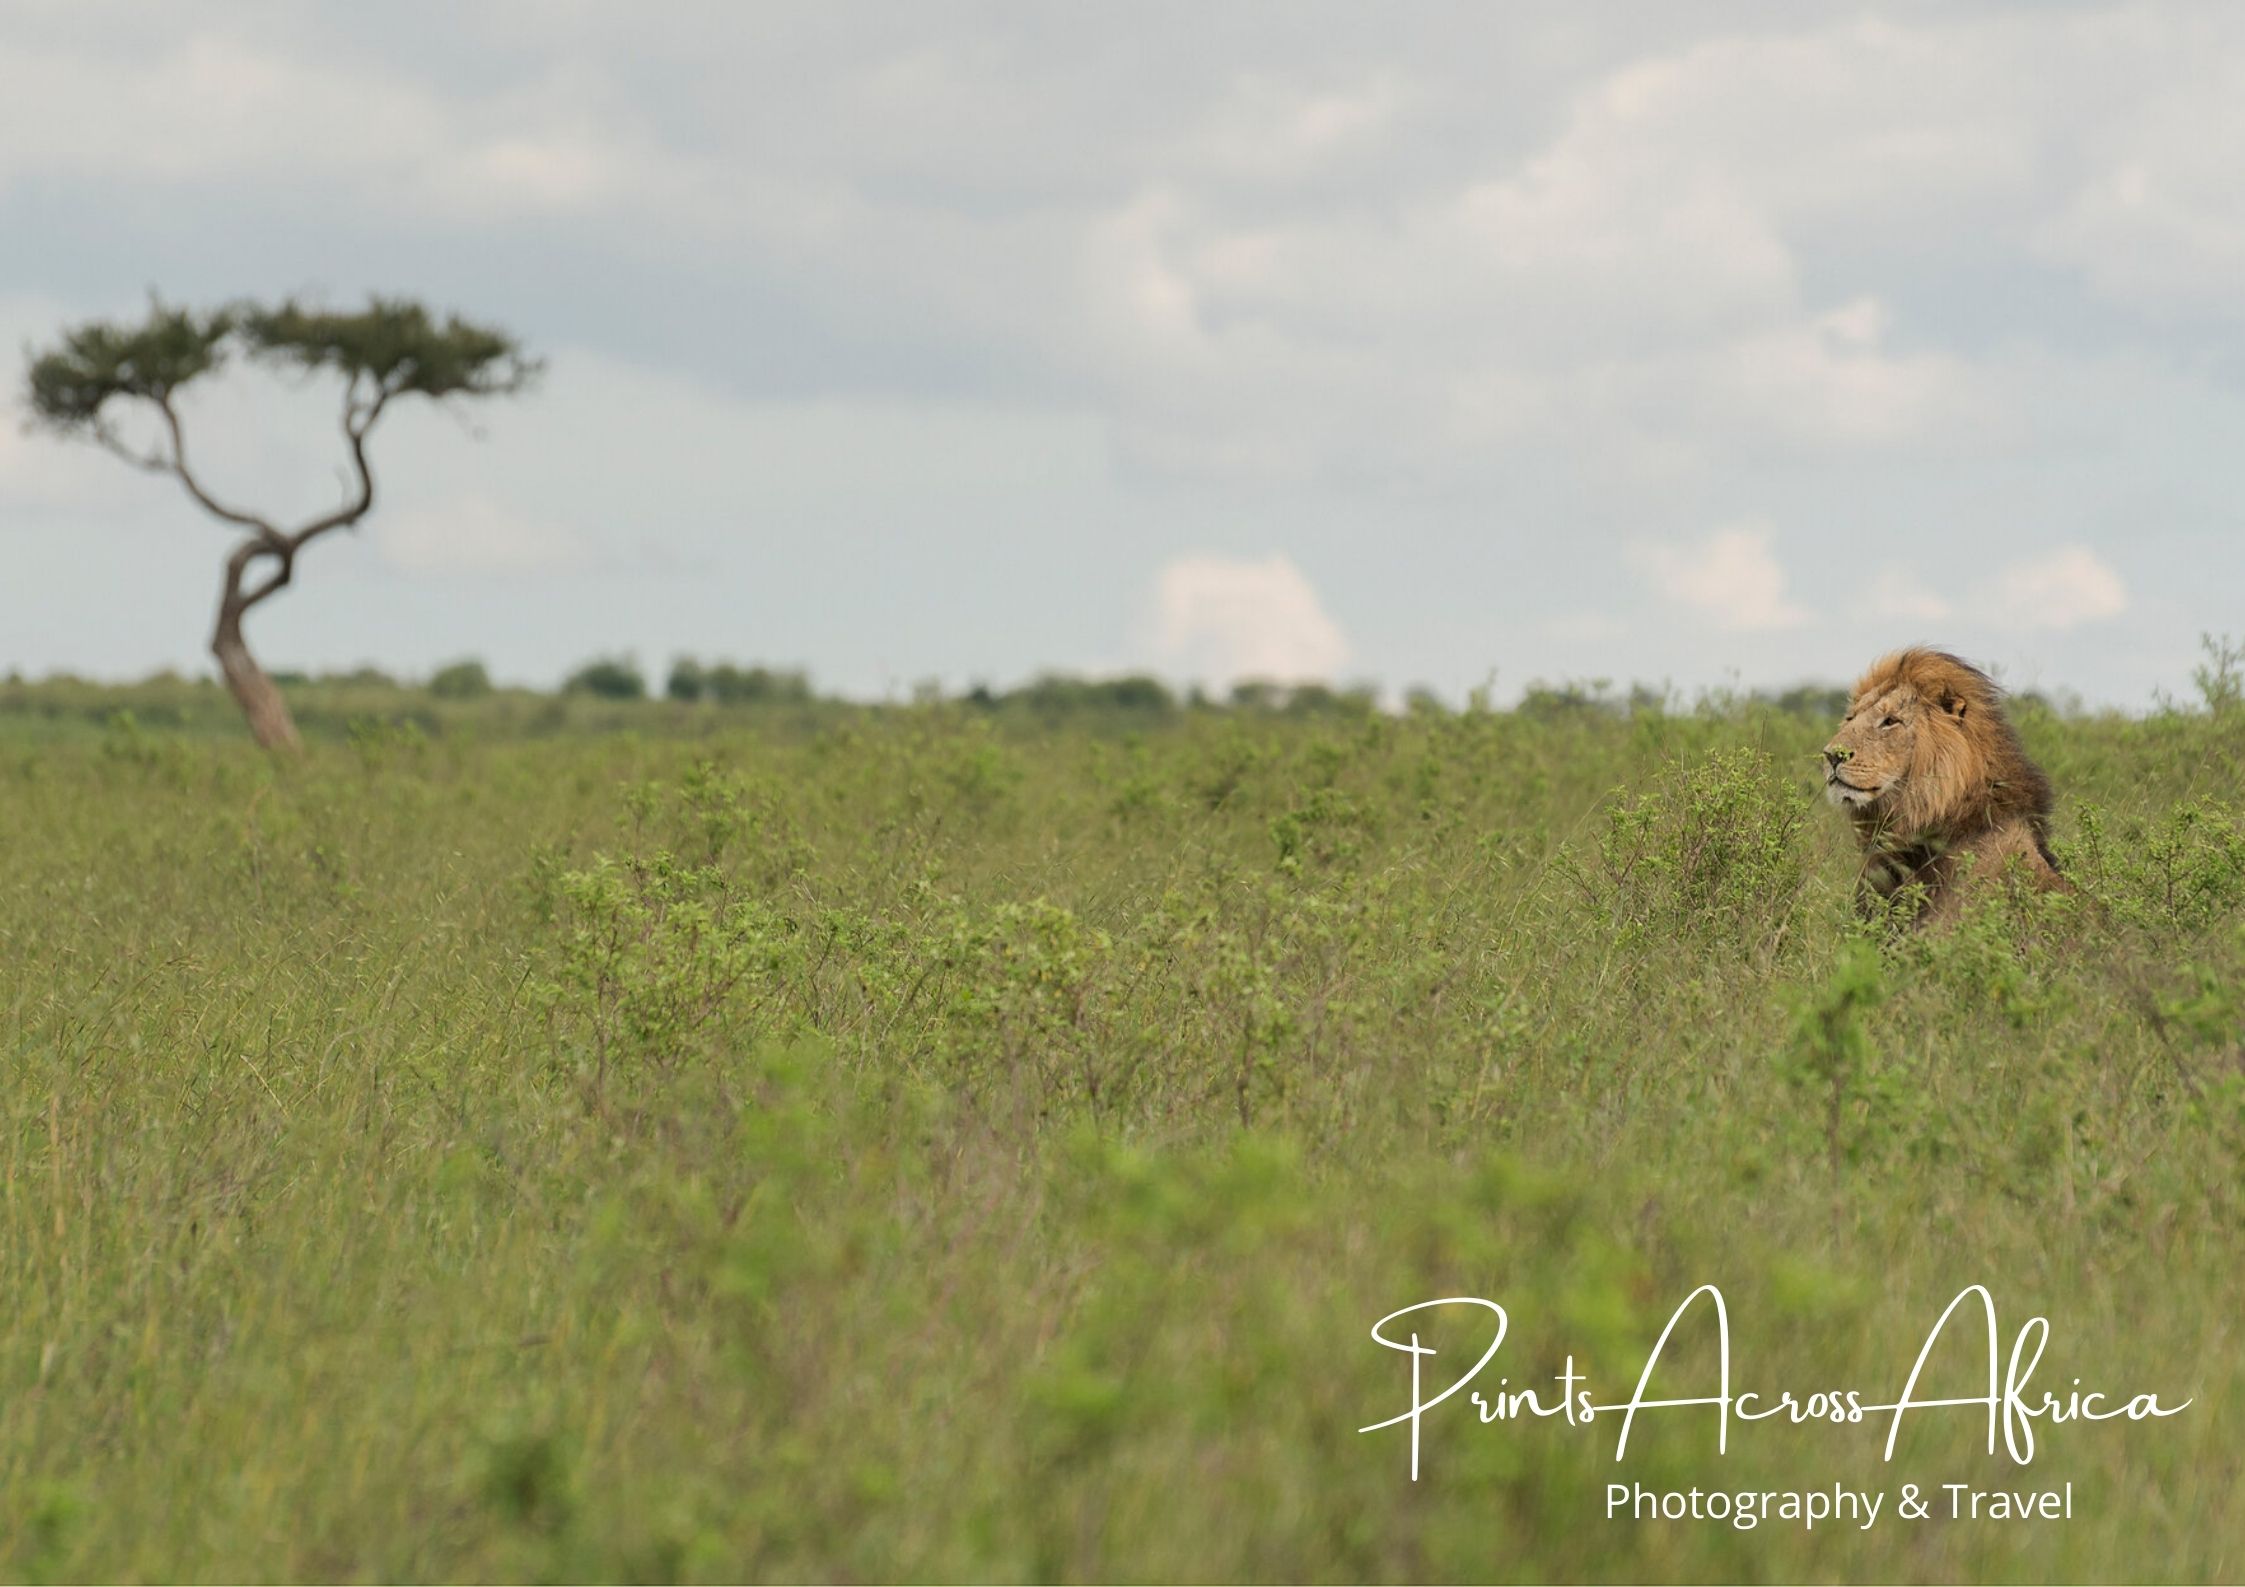
A bonus tip is to notice the direction the animal is looking and leave space in that direction. This helps you tell more of a story with your photo as it leaves the viewer wondering what the animal is looking at.

6. Have spare SD cards & batteries
If you are anything like me you will be taking a lot of photos while on safari. You don’t want to miss any opportunities so it is better to take the shots while you can. However, this does equate to a lot of space being taken up on your SD cards and you won’t always have access to a way to back them up while you are away.
To overcome this make sure you have lots of spare SD cards. Also, consider the quality of the SD card, the higher the c number the faster the card is, the faster you can take photos. 10 is the highest c number meaning it will write the photos to the camera faster.
A slower SD card will take longer to store the photos meaning you might have a period where the camera is buffering while it saves the photos. You will not be able to use the camera at this point. Therefore it is worth investing in a quality SD card.
Of course, you also need to consider the size of the SD card. I usually don’t use anything less than 128gb but you can get SD cards that go up to 4Tb these days. I usually use these by SanDisk:
In terms of batteries, you always need to have a backup. Electricity isn’t always the most reliable to be able to charge your batteries every night. You might also be out for long days and might have to switch to a new battery. I always have 2 spare batteries with me on safaris.
Keeping the shots
Ok so now you have taken some amazing photos from your trip, the next part is just as important.
We have all done it, we have taken the photos, we know there are some killer shots in there. But we haven’t gotten around to downloading the photos, deleting the rubbish ones and backing up the good ones.
I know, I know backing up photos is not as exciting as taking the photos, but once you have done this part you can do the next exciting part. Editing and sharing the photos. So let’s take a look at the process of backing up your photos.
7. Backing up your photos
If you do have access to a laptop on your travels then it is a good idea to back up your photos. If not you will have to wait until you get home. To do this you will need a hard drive. For safari or even if you just travel a lot, I would recommend a more robust one. There have been numerous times when I have bought a normal hard drive and it has ended up breaking and I have lost a lot of photos.
Trust me, the sunken heart feeling when the hard drive corrupts and you lose the photos is not worth the few extra pounds you saved when you bought it!
I now use these ones by Lacie. They are more durable and can withstand a bit of rough treatment:
8. Back up your photos again!
Ok, so you have moved your photos from your SD card to your hard drive. Remember this is when you should then be filtering out the good photos and deleting the bad. The next step is to back up again the remaining photos. Remember when I told you about my hard drives corrupting… this is why you back up again. We now have a ‘My cloud’ device to ensure we don’t lose any more photos. This device backs up your photos to the hard drives inside and then onto a cloud system so you can access them from anywhere.
So there you have my 6 simple and effective wildlife photography tips. Plus tips on backing up your photos. I hope you found it useful. Remember the most important thing is to have fun and enjoy your holiday. If you miss the shots, don’t worry. I can assure you once you have been on safari once, you will definitely come back!
If you enjoyed this post please share it for others to read:
